If you have ever spent more than five minutes staring at the back of an arcade cabinet or a dusty circuit board, you have probably heard the word JAMMA. JAMMA became one of the most common wiring standards used in arcade cabinets, making board swaps and cabinet conversions easier to manage.
At GeekPCBs, we live and breathe this stuff. Whether you are a seasoned repair technician or a newcomer trying to get your first arcade cabinet running, understanding JAMMA pinouts is the foundation of your project. Mistakes happen that’s part of DIY, but when it comes to power and wiring, a little bit of knowledge goes a long way in helping prevent wiring mistakes, incorrect voltages, and avoidable PCB damage.
In this guide, we will break down what JAMMA is, why the pinouts are so critical, and how you can use JAMMA adapters to bridge the gap between different generations of arcade history.
What Is JAMMA?
JAMMA stands for the Japan Amusement Machinery Manufacturers Association. Before 1985, the arcade industry used many manufacturer-specific wiring layouts. Nintendo, Sega, Namco, Atari, and other manufacturers often used their own proprietary harnesses. If you wanted to swap a Pac-Man board for a Donkey Kong board, you couldn’t just plug it in; you had to rewire the entire cabinet.
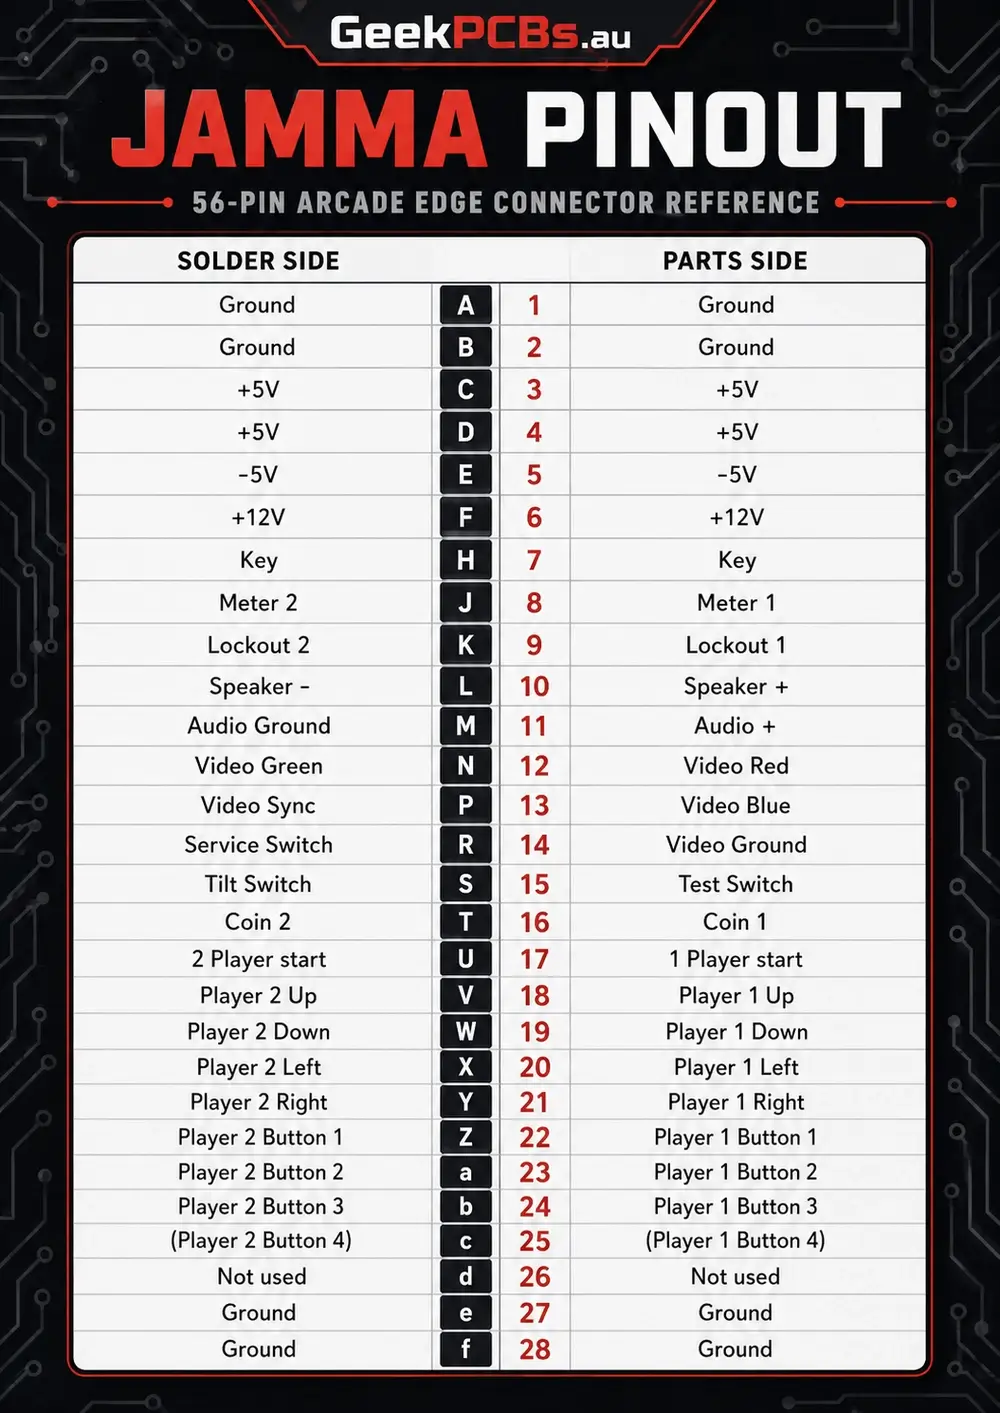
The JAMMA standard changed that by introducing a 56-pin edge connector (28 pins per side). This standardised the wiring for power, video, audio, and controls. This made it much easier for operators to swap compatible game boards without rewiring an entire cabinet. Today, JAMMA remains the industry standard for classic arcade PCB repair and restoration projects.
Why JAMMA Pinouts Matter
Knowing your JAMMA pinouts isn't just about making the game work; it’s about protecting your investment. Arcade PCBs are vintage pieces of history, and they can be quite sensitive.
The primary reasons to understand the pinout are:
- Voltage Safety: Applying +12V where +5V should be will kill a logic chip faster than you can say "Game Over."
- Preventing "Flipped" Connections: Without a proper key pin, it is possible to plug a harness in upside down. This usually sends high voltage directly into the ground or control lines.
- Audio and Video Integrity: Ensuring your RGB signals and sync lines are correctly mapped prevents distorted images or blown speakers.
Using the correct adapter and checking the wiring carefully helps reduce guesswork and lowers the risk of wiring faults.

Common JAMMA Connections
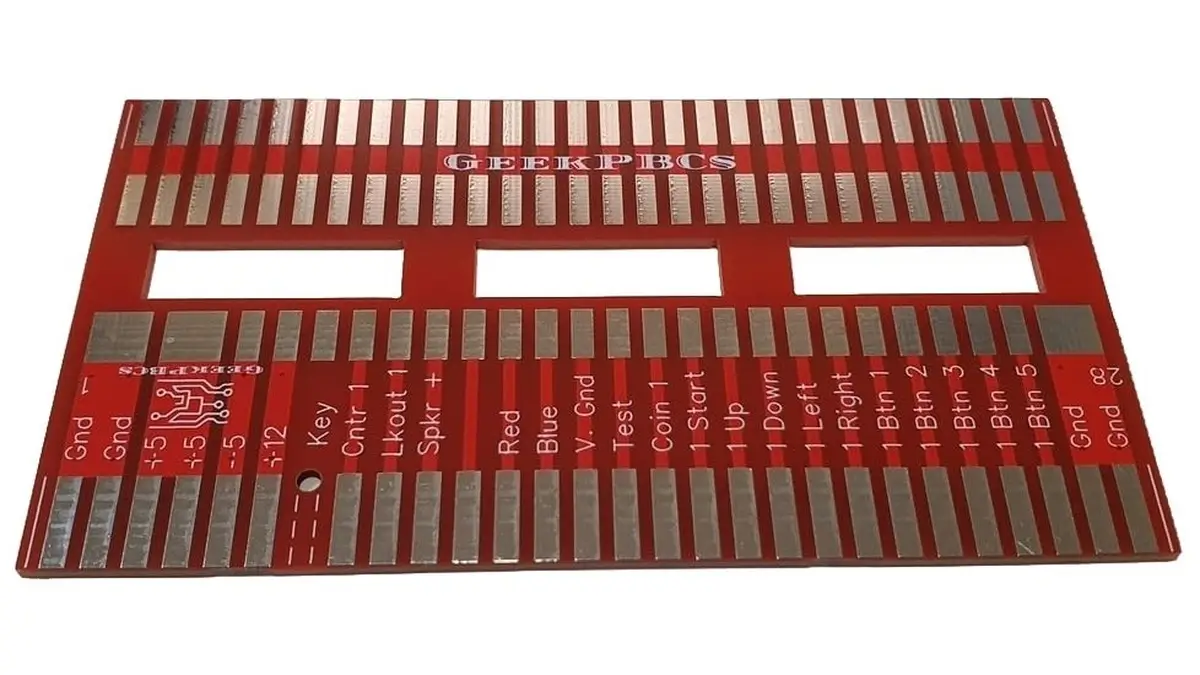
A standard JAMMA edge connector has two sides: the Parts Side (the top, where the chips are) and the Solder Side (the bottom). The pins are numbered 1–28 on the parts side and lettered A–f on the solder side.
Power Pins (The Dangerous Bits)
The first and last few pins are always reserved for power and ground. This is the most critical area to get right.
- Pins 1, 2, A, B: Ground (GND)
- Pins 3, 4, C, D: +5V DC (Logic power)
- Pins 5, E: -5V DC (Used by some older boards and sound chips)
- Pins 6, F: +12V DC (Usually for the audio amplifier)
Video and Audio
- Pin 10: Speaker (+)
- Pin L: Speaker (-)
- Pin 12: Video Red
- Pin 13: Video Blue
- Pin N: Video Green
- Pin P: Video Sync
- Pin 14: Video Ground
Control Inputs
The remaining pins handle the joystick and buttons for two players. The JAMMA standard supports up to three buttons per player. If you are playing a game that requires more (like Street Fighter II), you will likely need a kick harness, an extra connector that handles buttons 4, 5, and 6.
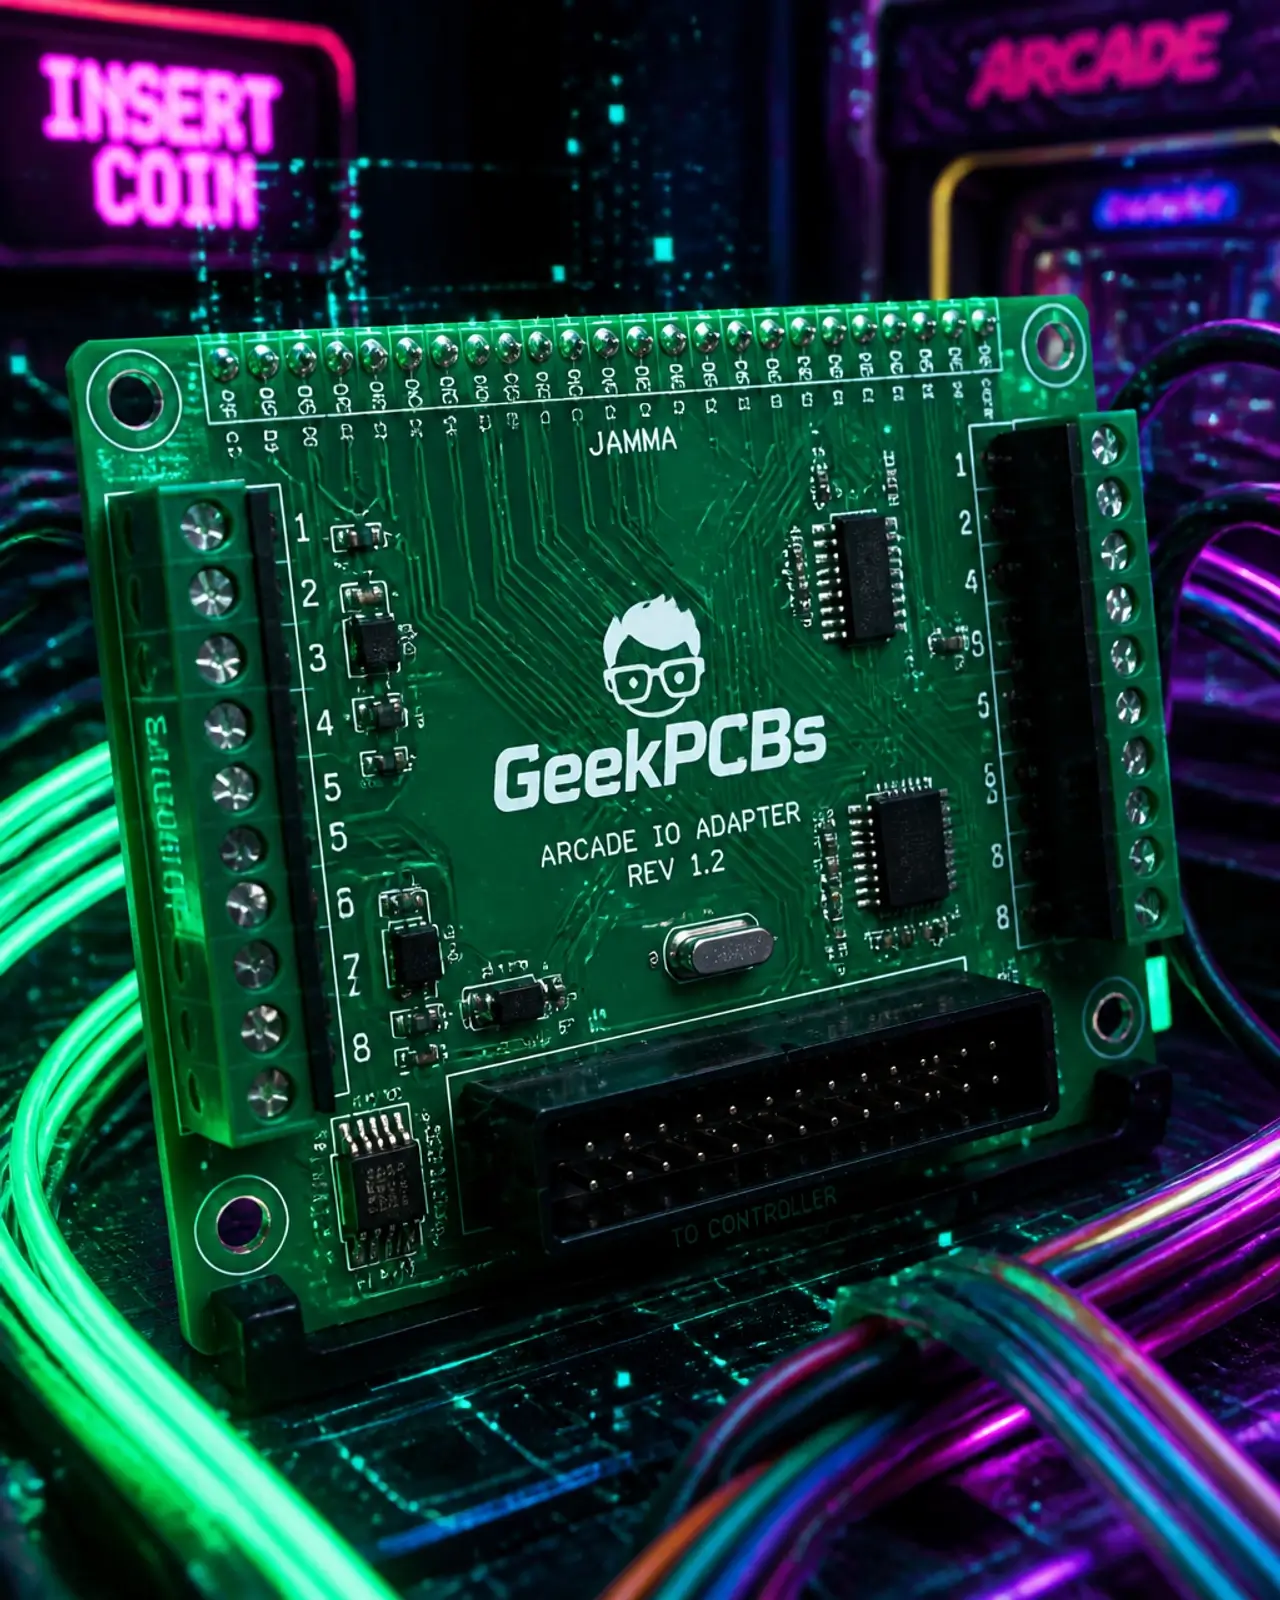
Using JAMMA Adapters
Not every board you find will be JAMMA-ready. Many "Pre-JAMMA" classics or specific manufacturers used their own layouts even after 1985. This is where JAMMA adapters come into play.
An adapter acts as a translator. It plugs into your non-standard game board and provides a standard JAMMA edge on the other side. This allows you to run vintage hardware in a modern JAMMA cabinet without cutting any wires.
Common uses for adapters include:
- Classic Conversions: Converting boards like Galaga or Donkey Kong to work in a standard JAMMA setup.
- Bootleg Boards: Many older bootleg boards have unique pinouts that look like JAMMA but have swapped pins.
- Multi Game Setups: Using adapters to switch between different systems quickly.
Check out our full range of JAMMA adapters if you are working with a board that requires a verified wiring conversion or interface solution.
Before Connecting an Arcade PCB
Before you flip the power switch on a new (to you) PCB, go through this checklist. It could save you hundreds of dollars in repair costs.
- Check for the Key: A standard JAMMA harness should have a "key" (a small plastic bit) at Pin 7. If yours doesn't, mark the "Parts Side" clearly so you don’t plug it in backwards.
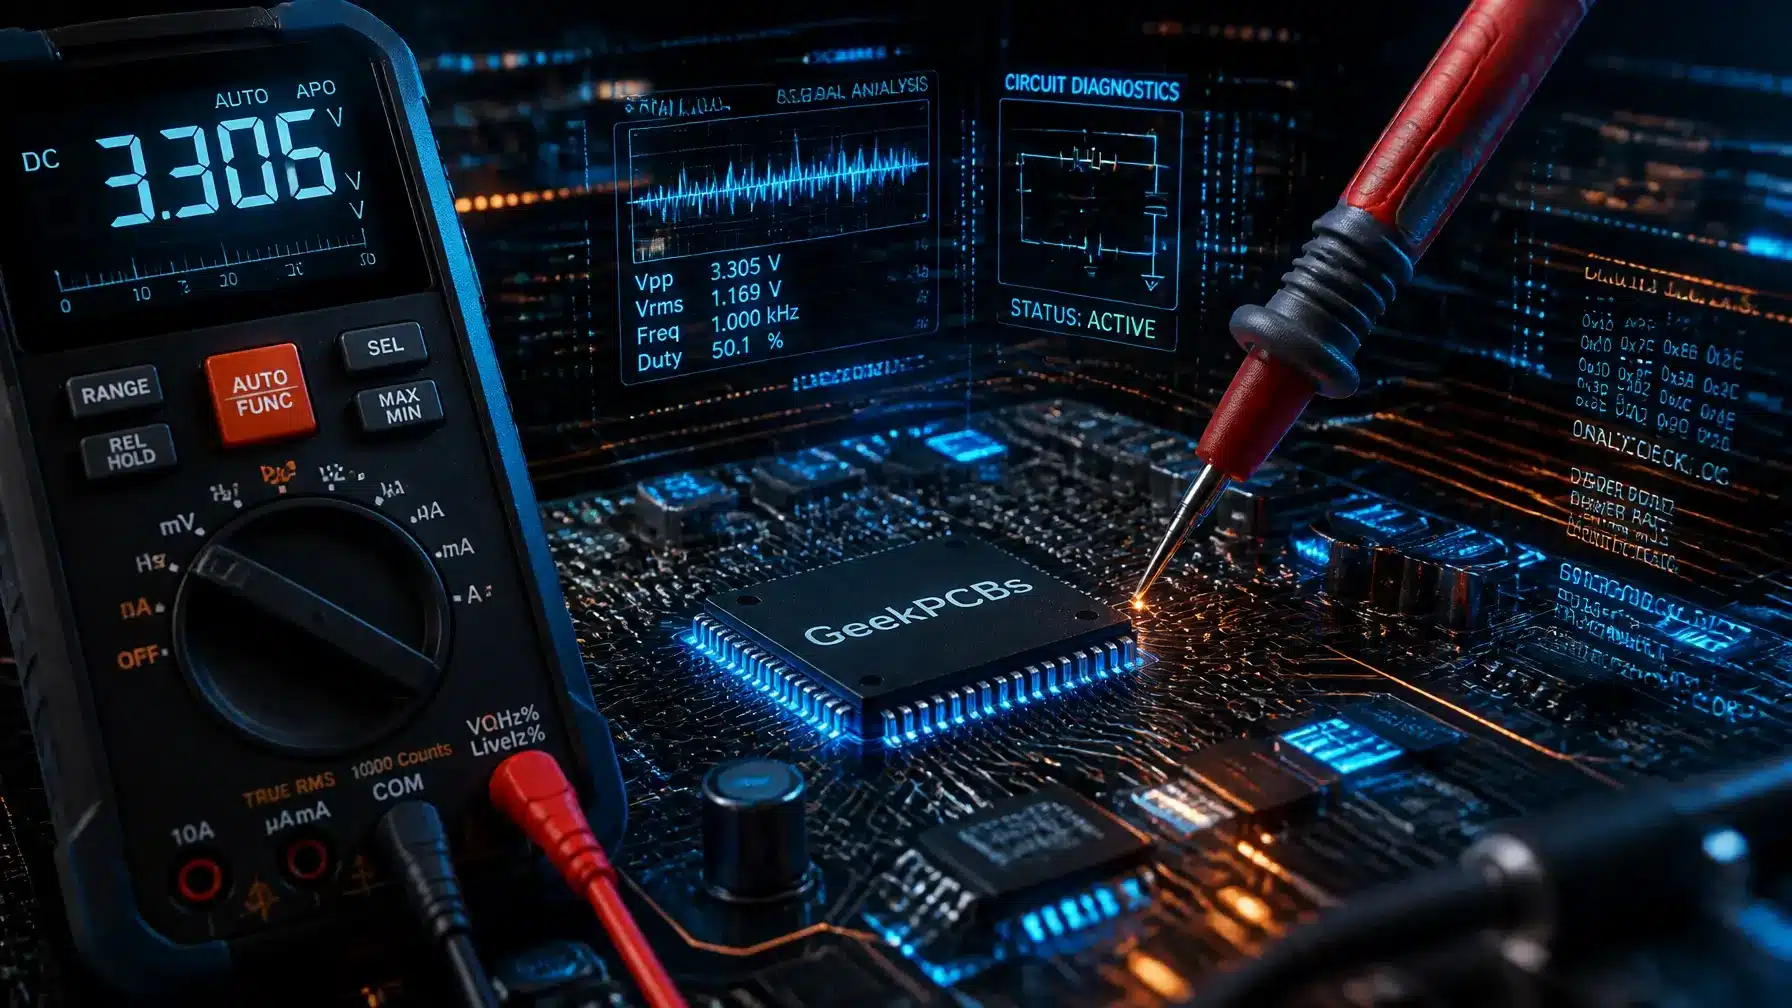
- Verify Voltages: Use a multimeter to check the +5V at the connector. It should be as close to 5.0V as possible. Some boards are picky and might need 5.1V, while others might struggle if it drops to 4.8V.
- Inspect the Edge Connector: Look for dirt, corrosion, or "burn" marks on the PCB’s gold fingers. Clean them with a bit of isopropyl alcohol if needed.
- Confirm the Pinout: Do not assume a board is JAMMA just because it has a 56-pin connector. Some games, like those from the Neo Geo MVS line, use a modified pinout that can send stereo audio into pins where a standard JAMMA mono speaker expects a different signal.
- Look for Extra Connectors: If you see extra pins sticking up elsewhere on the board, it likely requires a secondary harness for power or controls.
Shop JAMMA Adapters and Arcade PCB Parts
Restoring a machine is a labor of love, and having the right parts makes the process a whole lot smoother. At the GeekPCBs shop, we supply reproduction boards, JAMMA adapters, display boards, power supply boards, and related parts for classic arcade and pinball repairs.
We offer:
- Plug and Play LED Displays for that crisp, modern look.
- Power Supplies specifically engineered for Bally and Stern machines.
- Custom JAMMA Adapters for specific vintage games.
- Tech DIY Boards for the geeks who want to build their own solutions.
Our products are designed to support practical repairs, cleaner wiring, and reliable installation where the board and cabinet requirements match.
Need Help Choosing the Right Adapter?
Arcade hardware can be confusing. With decades of variations, bootlegs, and regional differences, it is easy to get lost in the wires. If you are unsure about a specific pinout or need advice on which adapter fits your cabinet, don’t guess.
You can contact GeekPCBs directly. We are hobbyists and technicians ourselves, and we are always happy to help a fellow geek get their machine back in top shape. For more deep dives into repair and maintenance, be sure to browse our Tech Tips category.
If you need help confirming a pinout, checking cabinet wiring, or choosing the correct interface board, get in touch before powering the system.
JAMMA Pinout FAQ
Q: Can I plug a Neo Geo MVS board into a standard JAMMA harness? A: Mostly, yes, but check the audio wiring first. Standard JAMMA uses mono audio, while some Neo Geo MVS boards use modified wiring for stereo sound. Always confirm the specific board and cabinet wiring before powering the machine.
Q: Why does my game have no sound even though the pinout is correct? A: Check the +12V line. Many arcade PCB audio amplifier circuits require +12V even when the board logic runs from +5V. Also inspect the speaker wiring, connector pins, and cabinet harness.
Q: Is it safe to use a JAMMA harness without a key pin? A: It is not recommended. A JAMMA key helps prevent the harness from being connected upside down. Without a key, there is a higher risk of incorrect connection and possible board damage.
Q: What is a kick harness? A: A kick harness is an extra wiring loom used by some arcade games that need more controls than the standard JAMMA connector provides, such as additional buttons for fighting games.