If you have spent any time under the backglass of a vintage Williams pinball machine, you know the feeling of looking at a flickering, half dead display. Whether it is a Flash, Time Warp, or Stella Wars, those Williams system 3-6 displays machines are absolute legends. But as every collector eventually learns, the original plasma displays are a ticking time bomb..
Between the high voltage requirements and the fact that the glass itself eventually "outgasses" and dies, maintaining original displays can feel like a part time job. Today, we are going to dive deep into the technical weeds of troubleshooting these boards. We will look at how to fix them if you are a purist and why an LED upgrade from GeekPCB's might be the best move for your sanity and your machine.
Enjoy the read it is riveting information for anyone with a soldering iron and a dream.
Initial Safety and Preparation
Before you even think about touching a display board, we need to talk about safety. These original Williams systems use a high voltage section on the power supply to drive the gas discharge plasma displays. We are talking about roughly 100V DC. It might not be enough to send you to the moon, but it will definitely give you a nasty bite and can instantly fry your logic circuitry if you slip with a probe.
Power Down is Non Negotiable Never plug or unplug displays while the machine is on. If you "hot swap" a display, you risk sending that high voltage rail directly into the sensitive MPU chips. That is a quick way to turn a display issue into a "my whole game is dead" issue.
Inspect Those Connectors One of the most common failures on these boards is not actually a component failure. It is physics. Decades of vibration and heat cycles cause the solder joints on the header pins to crack. Take a magnifying glass and look at the back of the Master Display Board (MDB) and the slave displays. If you see a tiny ring around the pin in the solder, it is cracked. Re soldering these pins is a common "first fix" and should always be your starting point.
Testing Power Supply Voltages
If your displays are totally dark, the problem might not even be the displays themselves. It could be the power supply. You need to verify that the high voltage section is actually working before you start blaming the boards.
- Measure the Rails: You are looking for the positive and negative 100 volt outputs.
- Check the Range: Typically, these should sit between 90V and 105V. If you see something way lower, or nothing at all, your problem is likely a blown fuse or a failed capacitor on the power supply board.
- The F1 Fuse: On many of these systems, the F1 fuse handles the high voltage. If it is blown, your plasma displays will never light up.
If the voltages are missing, stop working on the displays and fix the power supply first. If the voltages are there but the displays are still acting up, it is time to isolate the culprit.
Isolating Faulty Displays
The Williams display system consists of a Master Display Board (MDB) and four "slave" or player displays (plus a credit/match display). The MDB does the heavy lifting, translating data from the MPU into signals the other displays can understand.
If you see smoking resistors or erratic behavior, try this:
- Unplug everything: Power off the game and unplug all five display boards from the MDB.
- Power on: If the MDB seems to be behaving (no smoke, no heat), the issue is likely in one of the slave displays.
- The One by One Method: Power off, plug in one slave display, and power back on. Repeat this for each display.
- Find the Short: Eventually, you will find the one display that causes the resistors on the MDB to get hot or the display to flicker. That is your bad egg.
Mistakes happen that’s part of DIY, but taking it slow with this isolation method prevents you from burning up a perfectly good Master Board while testing a faulty slave board.
Master Display Board (MDB) Troubleshooting
The MDB is the brain of the display system, and it has a few famous failure points.
Scorched Resistors
Those 10k ohm resistors on the MDB are notorious for getting hot. If they look scorched or have turned a crispy brown, they need to be replaced. However, don't just swap the resistor. A burned resistor is usually a symptom of a shorted display or a failed driver chip. Replacing a 1/2 watt resistor with a 1/4 watt rating is a recipe for further failure because the original design already pushed these components to their limit.
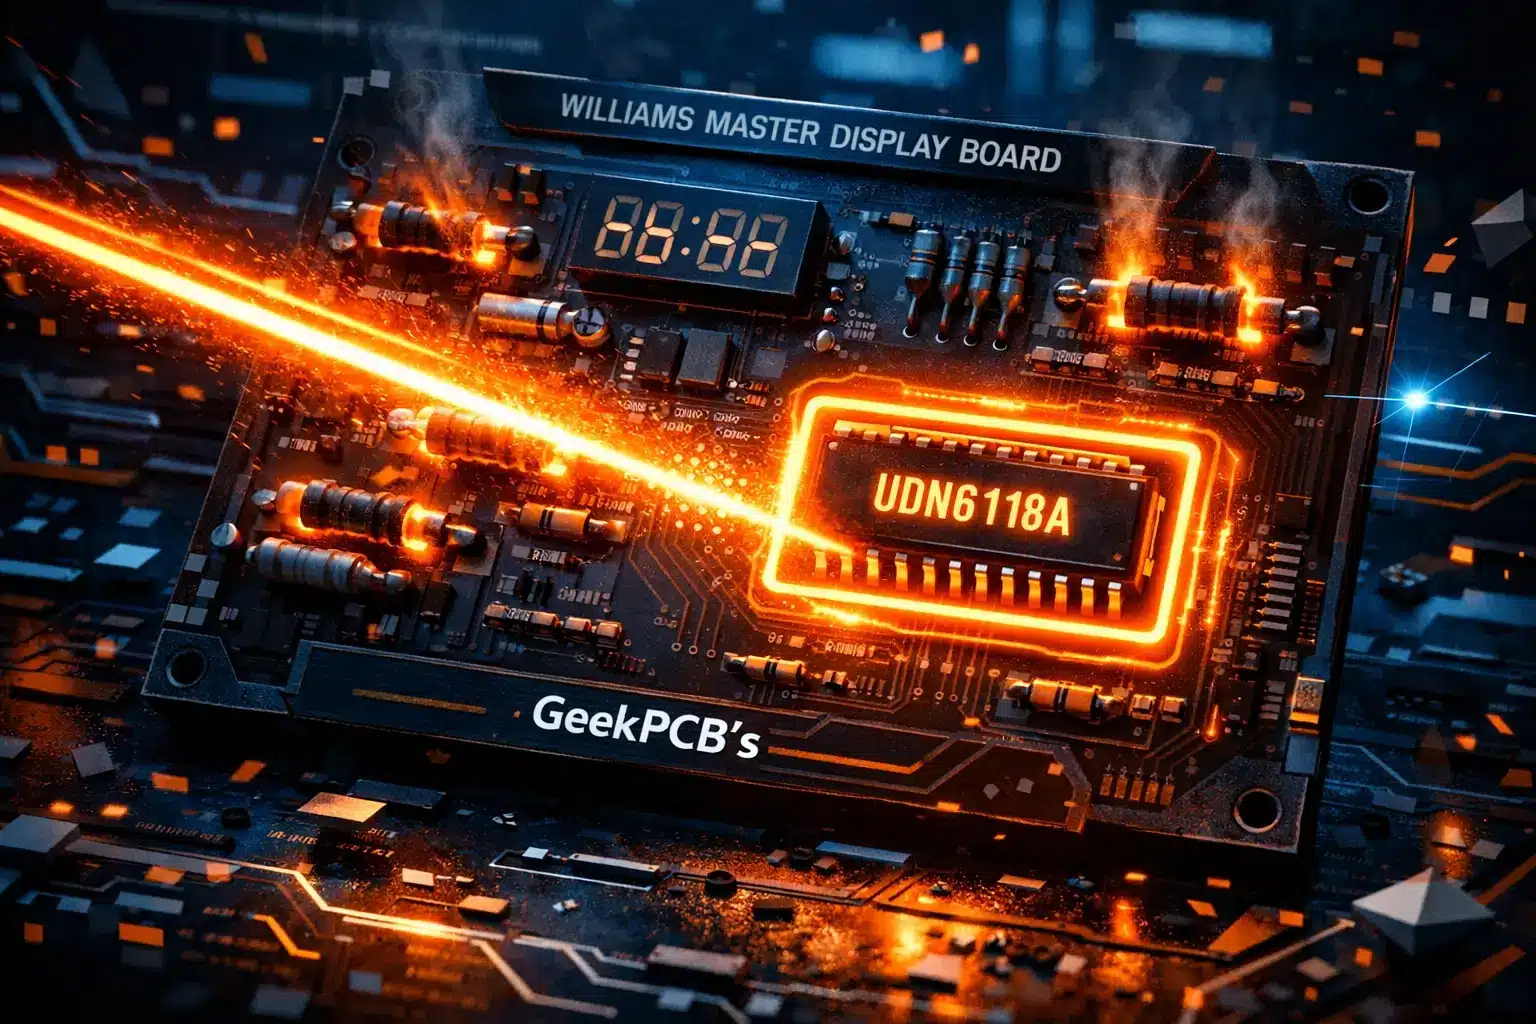
IC Replacements and the Rare UDN Chips
On many Williams boards, the UDN6118A (or UDN6184) segment driver chips are the primary failure points. If you are missing specific segments (like the top bar of every digit) across multiple displays, these ICs are the likely culprit.
The problem? These chips are getting harder to find and more expensive. You might find yourself paying $20 for a single chip that might be a "new old stock" gamble. If you are missing specific digits (like the 10s and 1000s), you will need to trace the strobe signals back to the driver chips, such as IC9 on System 6 and 7 boards, using a schematic.
Common Hardware Failures
Sometimes, the electronics are fine, but the physical hardware has given up the ghost.
Outgassing Plasma displays are glass tubes filled with gas. Over 40 years, that gas can leak out (outgassing). If you see a purple haze inside the glass or the display looks "dim" and "fuzzy" even with the correct voltage, the glass is dead. There is no magic fix for this; the glass must be replaced, and finding original replacement glass is becoming nearly impossible.
Adhesive Failure The double sided tape holding the board to the glass often dries out and becomes brittle. We have seen people try to fix this with duct tape loops, but please, for the love of pinball, don't do that. If the board isn't securely supported, it puts immense stress on the fragile solder joints and the pins coming out of the glass.
The Ultimate Solution: GeekPCB LED Upgrade
If the section above sounds like a lot of work, that is because it is. Repairing original Williams displays is a labor of love that involves hunting down rare chips, dealing with dangerous voltages, and hoping the 45 year old glass doesn't decide to die next week.
For collectors looking beyond display repairs, GeekPCBs also supplies pinball and arcade PCBs in Australia, including replacement and upgrade boards for classic machines.
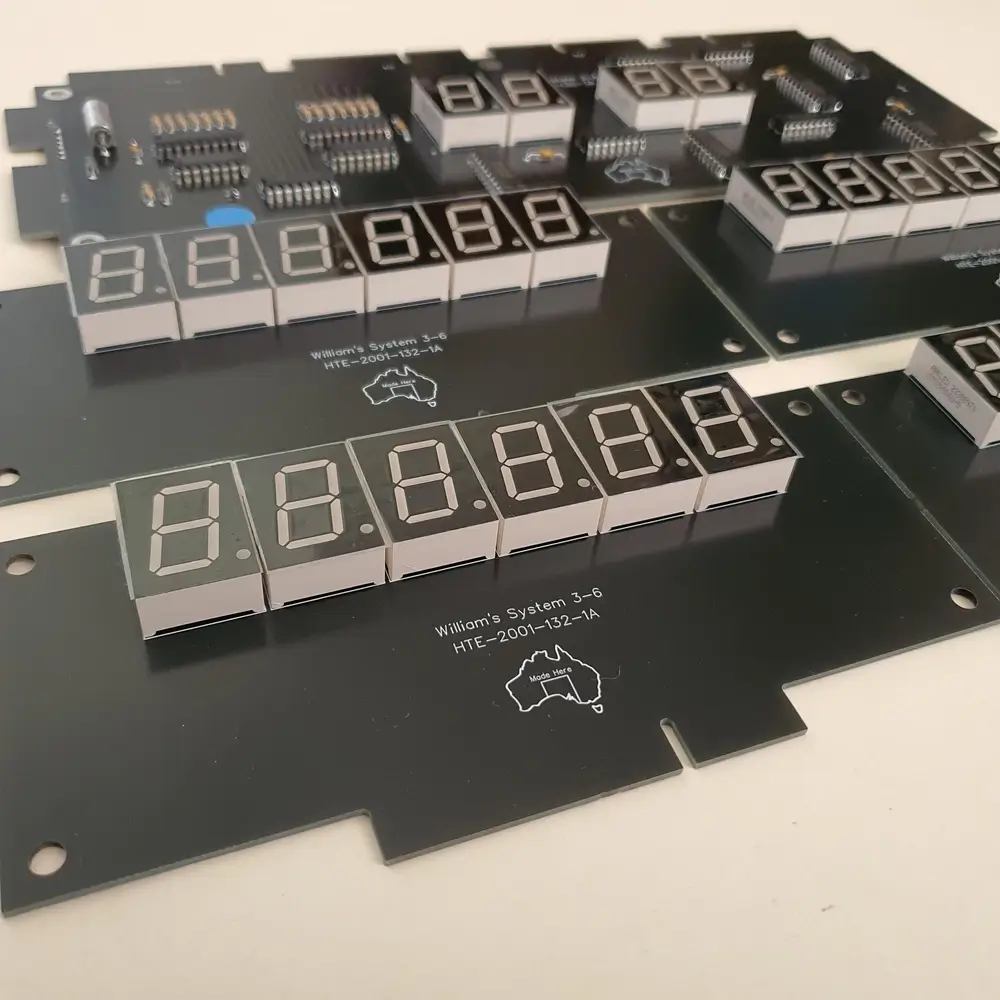
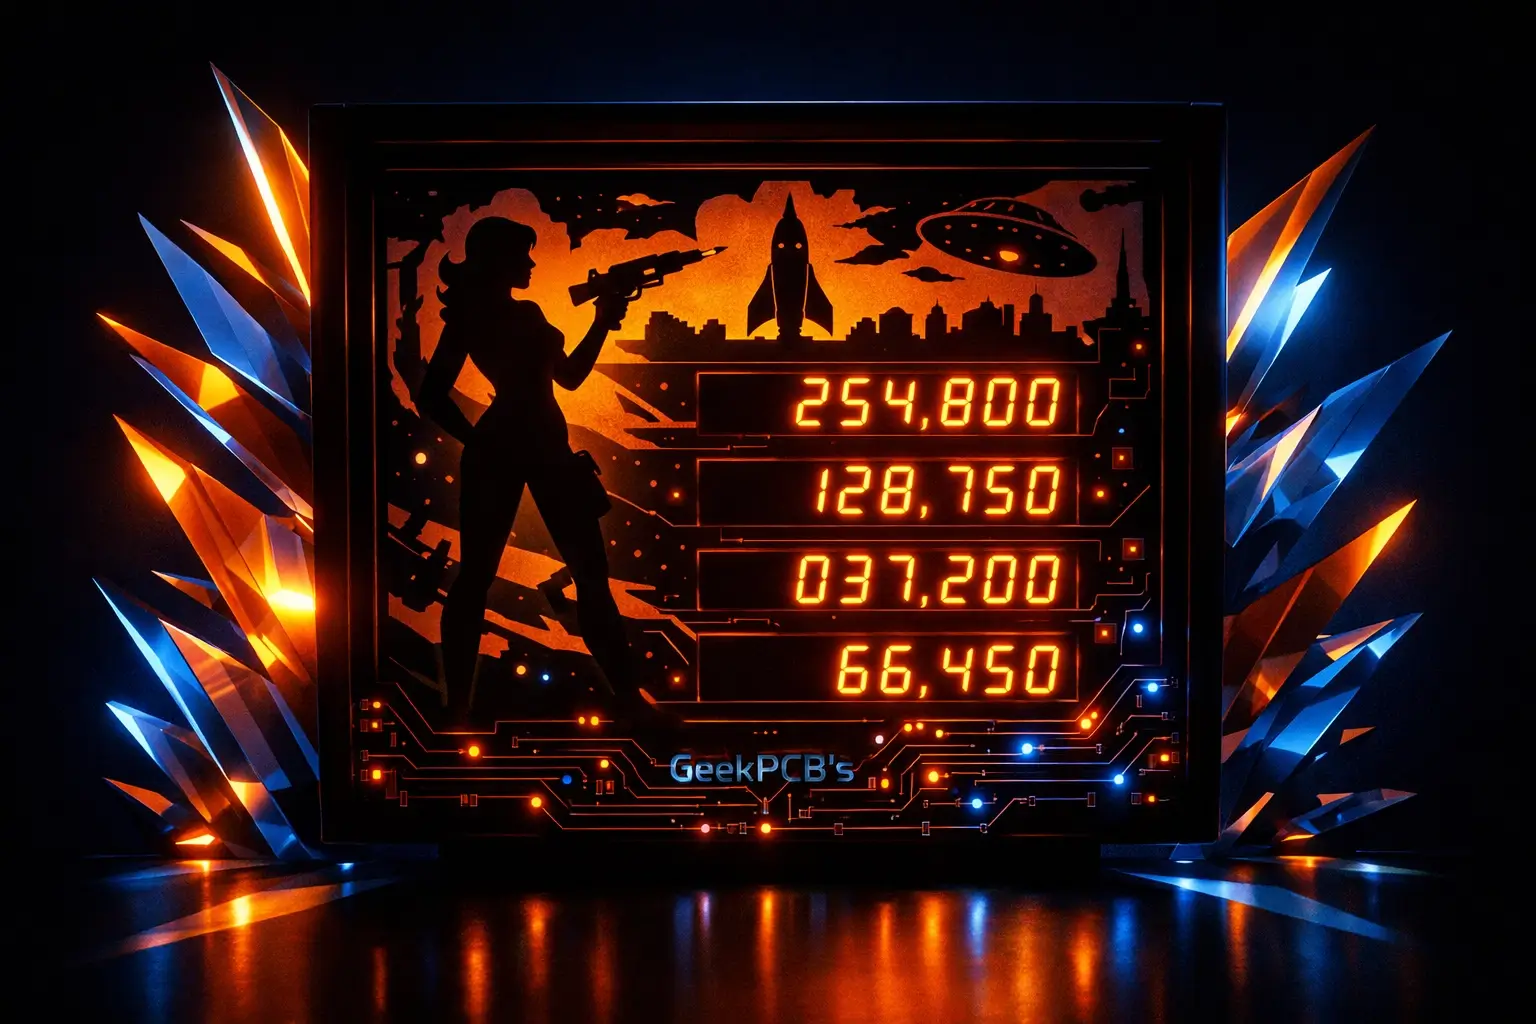
That is why we developed the GeekPCB Williams System 3-4-6 LED Display Set. We designed this to be the "forever fix" for your machine.
Why Go LED?
- Ditch the High Voltage: Our LED displays run on the low voltage logic rail. When you install our kit, you actually remove the F1 fuse from the power supply. This completely disables the 100V section of your machine, making it safer to work on and reducing the heat inside the backbox.
- Plug and Play: No soldering is required for the installation. It is a straight swap for your old boards.
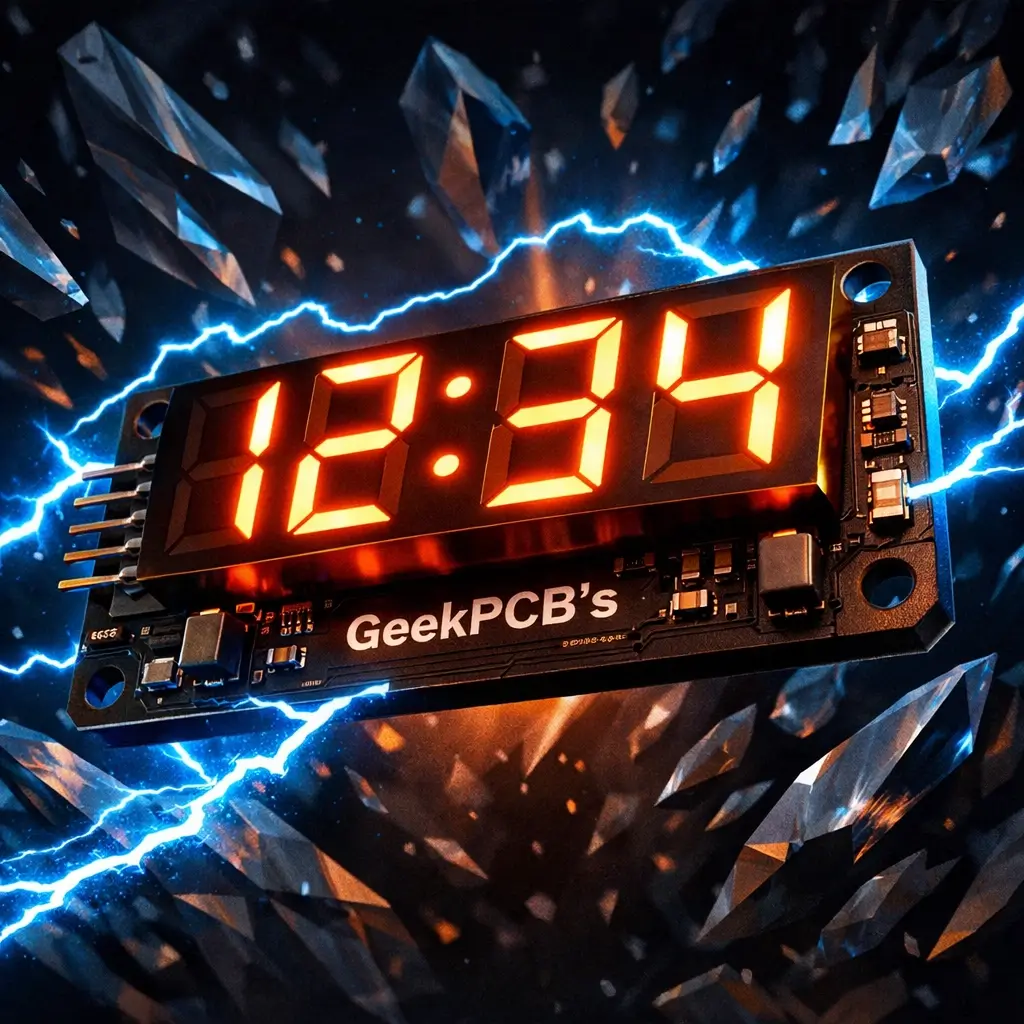
- The Original Look: We know you love that vintage orange glow. Our LEDs are specifically chosen to replicate the original plasma color, so your game looks authentic without the "modern" harshness of cheap LEDs.
- No More Outgassing: LEDs don't care about gas seals. They will stay bright and crisp for decades.
- Save Your MPU: By removing the high voltage requirement, you are protecting your expensive MPU and driver boards from potential voltage spikes.
Ready to build something awesome and give your Williams machine the upgrade it deserves? Check out our full shop for more DIY boards and parts.
If you enjoy diagnosing and repairing classic pinball hardware, browse our Tech Tips articles for more repair guides, fault-finding advice, and practical upgrade ideas.
Frequently Asked Questions
Will these LED displays fit my System 7 machine? Our current set is specifically designed for Williams System 3, 4, and 6. For System 7 and later, check our pinball boards or contact us to see what we have in development.
How do I know if my Master Display Board is beyond repair? If the traces are lifting, the UDN chips are fried, and the resistors have charred the PCB itself, it is usually more cost effective to switch to an LED set. The cost of individual chips and the time spent on trace repair adds up quickly.
Do I really need to remove the F1 fuse? Yes! Removing the fuse is a safety measure. Since the LED displays don't use the high voltage rail, leaving that section of the power supply active just creates unnecessary heat and risk.
Are the displays dimmable? Our LED sets are designed to match the factory brightness of a healthy plasma display. They provide a crisp, clean look that is easy on the eyes while maintaining that classic arcade feel.
Final Thoughts
Maintaining a vintage pinball machine is a journey. Whether you choose to troubleshoot and repair your original Williams plasma displays or upgrade to a modern LED solution, the goal is the same: keeping these incredible machines alive for the next generation.
If you are feeling adventurous and want to tackle the repair yourself, make sure you have a solid multimeter and a good soldering station. But if you want a reliable, high quality, and "sexy" looking fix that lets you get back to playing the game, our LED kits are made for makers like you.
If you have questions about your specific machine or need help with an installation, feel free to reach out via our contact page. We are always happy to help a fellow geek keep the silver ball rolling!